When a vacuum membrane press line runs well, it produces thermofoil doors with crisp shaker profiles, sharp wood-grain detail and edges that stay bonded for years. When it runs badly, every pallet that comes off the press tells the same story: orange peel, blisters, lifted edges, callbacks from angry customers. In most factories we visit, the root cause is not the machine or the operator — it is a mismatch between the vacuum membrane press adhesive and the film, substrate or press cycle.
This guide walks through the seven defects we see most often in membrane pressing of PVC and PET thermofoil over MDF, what actually causes each one, and the practical fixes that stop them from coming back. If you also bond flat veneer on a hot press, the same troubleshooting logic applies in our veneer bubble and delamination guide.
Table of Contents
- 1. How Vacuum Membrane Press Bonding Works — and Why Defects Happen
- 2. Defect 1: Orange-Peel Surface and Lost Grain Definition
- 3. Defect 2: Blisters Under the Film
- 4. Defect 3: Bridging Failures in Grooves and 3D Profiles
- 5. Defect 4: Edge Lift and Delamination at Panel Edges
- 6. Defect 5: Glue Shadowing and Bleed-Through Marks
- 7. Defect 6: Film Scorching, Shrinkage and Discoloration
- 8. Defect 7: Doors That Fail Later in Hot, Humid Service
- 9. Quick Diagnosis Table: Symptom → Cause → Fix
- 10. Choosing an Adhesive That Prevents All Seven
1. How Vacuum Membrane Press Bonding Works — and Why Defects Happen
In a membrane press, glue is sprayed or rolled onto a shaped MDF or HDF panel. A PVC or PET film is laid over it, a silicone membrane is lowered, and vacuum draws the film down into every groove while heated air activates the adhesive. Bonding happens in a window of roughly 30–90 seconds, under a vacuum of about −0.08 to −0.095 MPa, at film temperatures that typically reach 90–130°C depending on the glue.

That narrow window is why defects cluster around four variables: glue coverage (too little in grooves, too much on flat areas), activation temperature (the glue must fully flow before the film softens too far), open time (sprayed glue that dries before pressing loses tack), and substrate condition (MDF dust, moisture and milling quality). Every defect below traces back to one of these — or to a glue formulation that was never designed for deep 3D profiles in the first place.
2. Defect 1: Orange-Peel Surface and Lost Grain Definition
What it looks like: the film surface shows fine ripples like orange peel, and embossed wood grain or decorative detail looks soft and cloudy instead of sharp. Customers notice it immediately on matte and super-matt films.
Why it happens: orange peel is a pressure problem, not a glue problem. Either the vacuum is too weak (worn pumps, leaking gaskets, clogged breather holes in the MDF), or the glue film is so thick and slow-flowing that it cushions the foil instead of letting it pull tight into the profile. Over-spraying to “be safe” is the most common trigger.
How to fix it: verify the press actually holds −0.085 MPa or better; clean or drill breather holes in routed panels; and switch to a membrane press adhesive formulated for thin, even application. A glue with a controlled spray pattern at 60–90 g/m² lets the vacuum do the forming work, so the film sits directly on the substrate and the grain reads sharp.
3. Defect 2: Blisters Under the Film
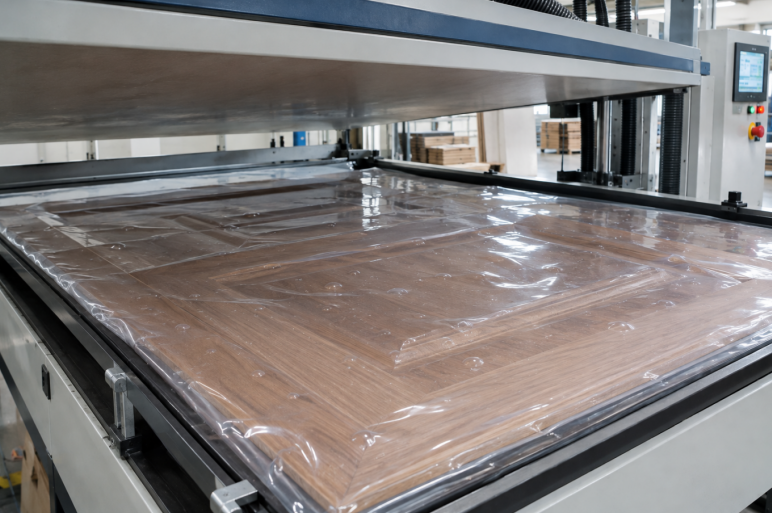
What it looks like: raised pockets where the film has lifted off the panel, usually on flat fields near routed edges or over glued-over breather holes. Pressing on the blister sometimes makes it vanish for a moment, then it returns.
Why it happens: trapped air or trapped moisture. Typical sources include MDF above 8–10% moisture content, glue that has skinned over because it was sprayed too early, contaminated or oily panel surfaces, and — the one factories miss most — moisture flashing to steam when a wet panel hits high press temperatures. Cheap general-purpose sprays with high water content make this worse.
How to fix it: condition boards to 6–8% moisture, wipe panels before spraying, respect the glue’s open time, and choose an adhesive with fast water release so the bond forms before steam can build. If blisters appear in the same spot on many panels, check the spray gun pass overlap — a double-heavy stripe always blisters.
4. Defect 3: Bridging Failures in Grooves and 3D Profiles
What it looks like: the film spans across the bottom of a groove or a sharp inside corner instead of dipping into it. The line looks fine until you run a fingernail along the groove and the foil clicks and lifts.
Why it happens: three factors stack up. The groove is milled too tight for the film gauge; too little glue reaches the groove walls because the spray angle misses them; and the glue is too slow to wet out at the temperature the groove actually reaches. Deep profiles are the coldest part of the panel, so a glue that only activates at the top surface never bonds down there.
How to fix it: widen grooves or round inside corners slightly (a 0.5–1 mm radius change solves most bridging), angle spray nozzles to coat groove walls, and use a low-activation adhesive that flows at moderate temperatures. This is exactly where purpose-built vacuum press adhesives outperform generic contact or PVA sprays — they wet vertical groove walls during the short vacuum dwell instead of needing long heat soak.
5. Defect 4: Edge Lift and Delamination at Panel Edges
What it looks like: the film peels back from the panel’s outside edges and corners, often starting within days of pressing or right after the door is handled and trimmed.
Why it happens: edges cool fastest and see the most mechanical stress, so they expose any weakness in the system: spray coverage that thins out at the perimeter, MDF edges that are fuzzy or dusty after routing, glue applied to a cold panel, or an adhesive whose final tack is too low for the film’s shrinkage force.
How to fix it: sand or blow off edge fuzz, warm panels to roughly room temperature before spraying, and overlap the edge pass with a slightly heavier glue coat. Above all, test the finished door with a cross-cut adhesion check: if the film lifts cleanly at the edge with no fiber tear, the adhesive’s final bond strength is insufficient and the problem will return in the field.
6. Defect 5: Glue Shadowing and Bleed-Through Marks
What it looks like: dark rings, spray dots or a ghost of the glue pattern showing through light-colored or thin films, most visible on white and super-matt thermofoil under shop lighting.
Why it happens: heavy or uneven spray coats, glue beads that spatter from a worn nozzle, or adhesives with fillers that discolor at press temperature. Thin PVC films (below 0.35 mm) show every imperfection underneath them.
How to fix it: keep nozzles clean and filter the glue, spray in light crosshatch passes instead of one heavy coat, and pick a low-haze, water-clear formulation for light films. Our PVC adhesive line is specifically filtered for shadow-free bonding on white and transparent films.
7. Defect 6: Film Scorching, Shrinkage and Discoloration
What it looks like: yellowing or browning on light films, glossy shiny patches, or the foil shrinking back from edges after pressing — sometimes days later, as residual heat keeps working on the film.
Why it happens: the press cycle is running hotter or longer than the film can tolerate, usually because an underpowered glue needs excess temperature to activate. Operators raise the heat to “make the bond stick,” and the film pays the price.
How to fix it: the fix is a lower-activation adhesive, not more heat. When the glue fully flows at a moderate film temperature, you can drop press temperature and dwell time, which protects the film and shortens the cycle. Recalibrate with a surface thermometer rather than trusting the machine dial — a 10–15°C error between dial and film surface is common on older presses.
8. Defect 7: Doors That Fail Later in Hot, Humid Service
What it looks like: doors that pass the factory QC bench but delaminate months later — inside a container crossing the equator, in a kitchen above a dishwasher, or on a project in a hot, humid climate. This is the most expensive defect because it is a warranty claim, not a rework job.
Why it happens: the adhesive softened after curing. Standard spray glues can creep once service temperatures pass roughly 60–70°C, and container shipments routinely exceed that inside a sealed box in the sun.
How to fix it: specify a high heat resistance vacuum press glue — rated to resist 80°C or above after cure — and validate it with a hot-peel test at 80°C for two hours before approving the supplier. For export programs and tropical markets this should be a written purchasing requirement, not a verbal one. If your line also runs PUR lamination, our comparison of liquid PUR vs PUR hot melt adhesives covers when that chemistry is the better heat-resistant choice.
9. Quick Diagnosis Table: Symptom → Cause → Fix
| Defect | Most Likely Cause | First Fix to Try |
|---|---|---|
| Orange peel, soft grain | Weak vacuum or over-sprayed glue | Check −0.085 MPa; cut spray to 60–90 g/m² |
| Blisters | Moisture or skinned glue | Boards at 6–8% MC; respect open time |
| Groove bridging | Glue misses groove walls; slow wetting | Re-aim nozzles; low-activation adhesive |
| Edge lift | Thin coverage; weak final tack | Heavy edge pass; cross-cut adhesion test |
| Shadowing through film | Heavy coats; hazy glue | Filter glue; light crosshatch passes |
| Scorch / shrinkage | Excess heat for a slow glue | Lower-activation glue; verify film temp |
| Field delamination | Adhesive creeps above 60–70°C | 80°C hot-peel test; heat-resistant grade |
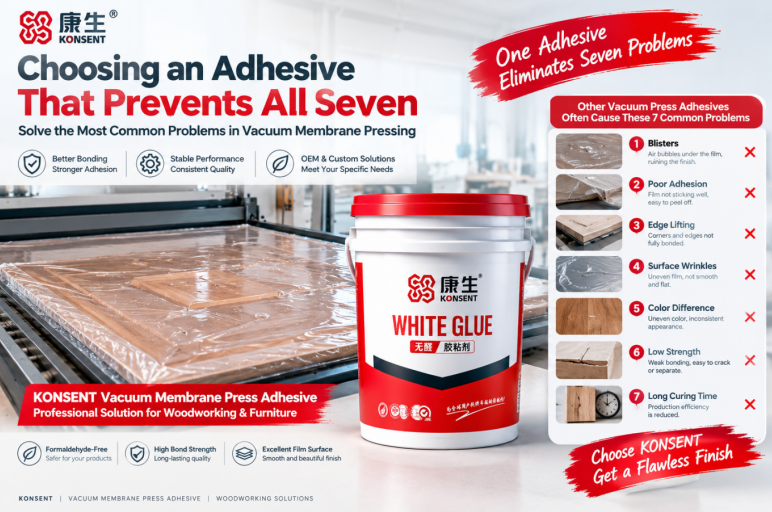
10. Choosing an Adhesive That Prevents All Seven
Notice the pattern: six of the seven defects above trace back to the glue either directly or through the press settings the glue forces you to run. A purpose-built membrane press adhesive is judged on five points:
- Activation window: full flow at moderate film temperature, so you never burn a film to chase a bond.
- Heat resistance after cure: stable at 80°C for export and kitchen service.
- Wetting on vertical surfaces: bonds groove walls within the vacuum dwell, not just flat fields.
- Optical clarity: no shadow or haze through white and thin films.
- Sprayability: fine, even atomization without nozzle clogging across a full shift.
Our vacuum membrane press adhesive was developed against exactly this checklist, working with door manufacturers who press deep shaker and 3D profiles daily. If you are comparing suppliers for a full production program, the wholesale woodworking adhesives sourcing guide explains how to audit samples, trial runs and pricing before you commit volumes.
Still fighting one of these defects? Send us the failing panel description — film type, board, press cycle and where it fails — and our engineers will diagnose the cause and recommend the right grade, with free samples for line trials. Contact KONSENT today and put an end to membrane press rework.